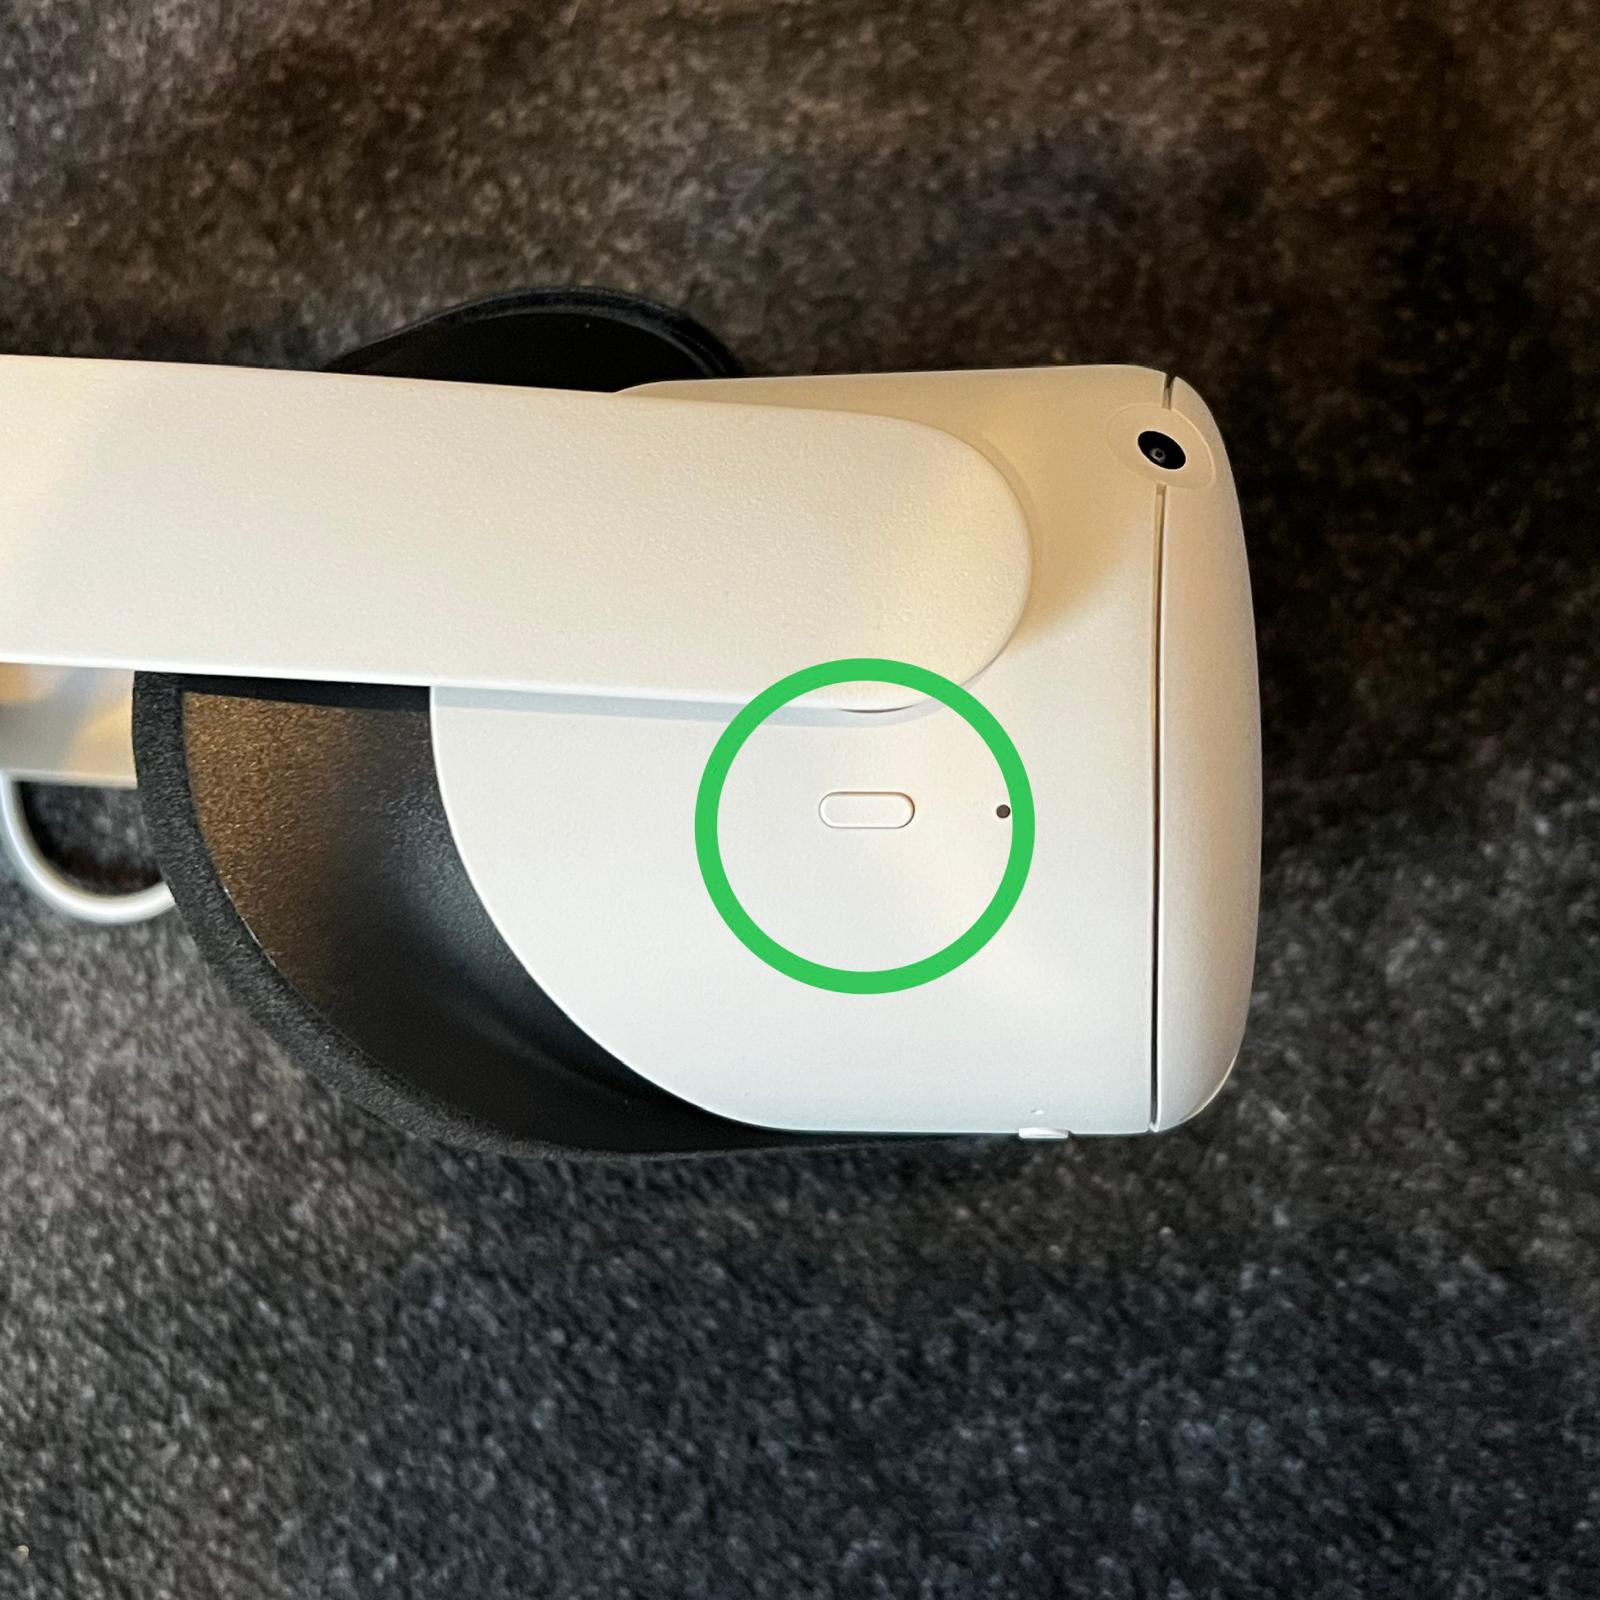
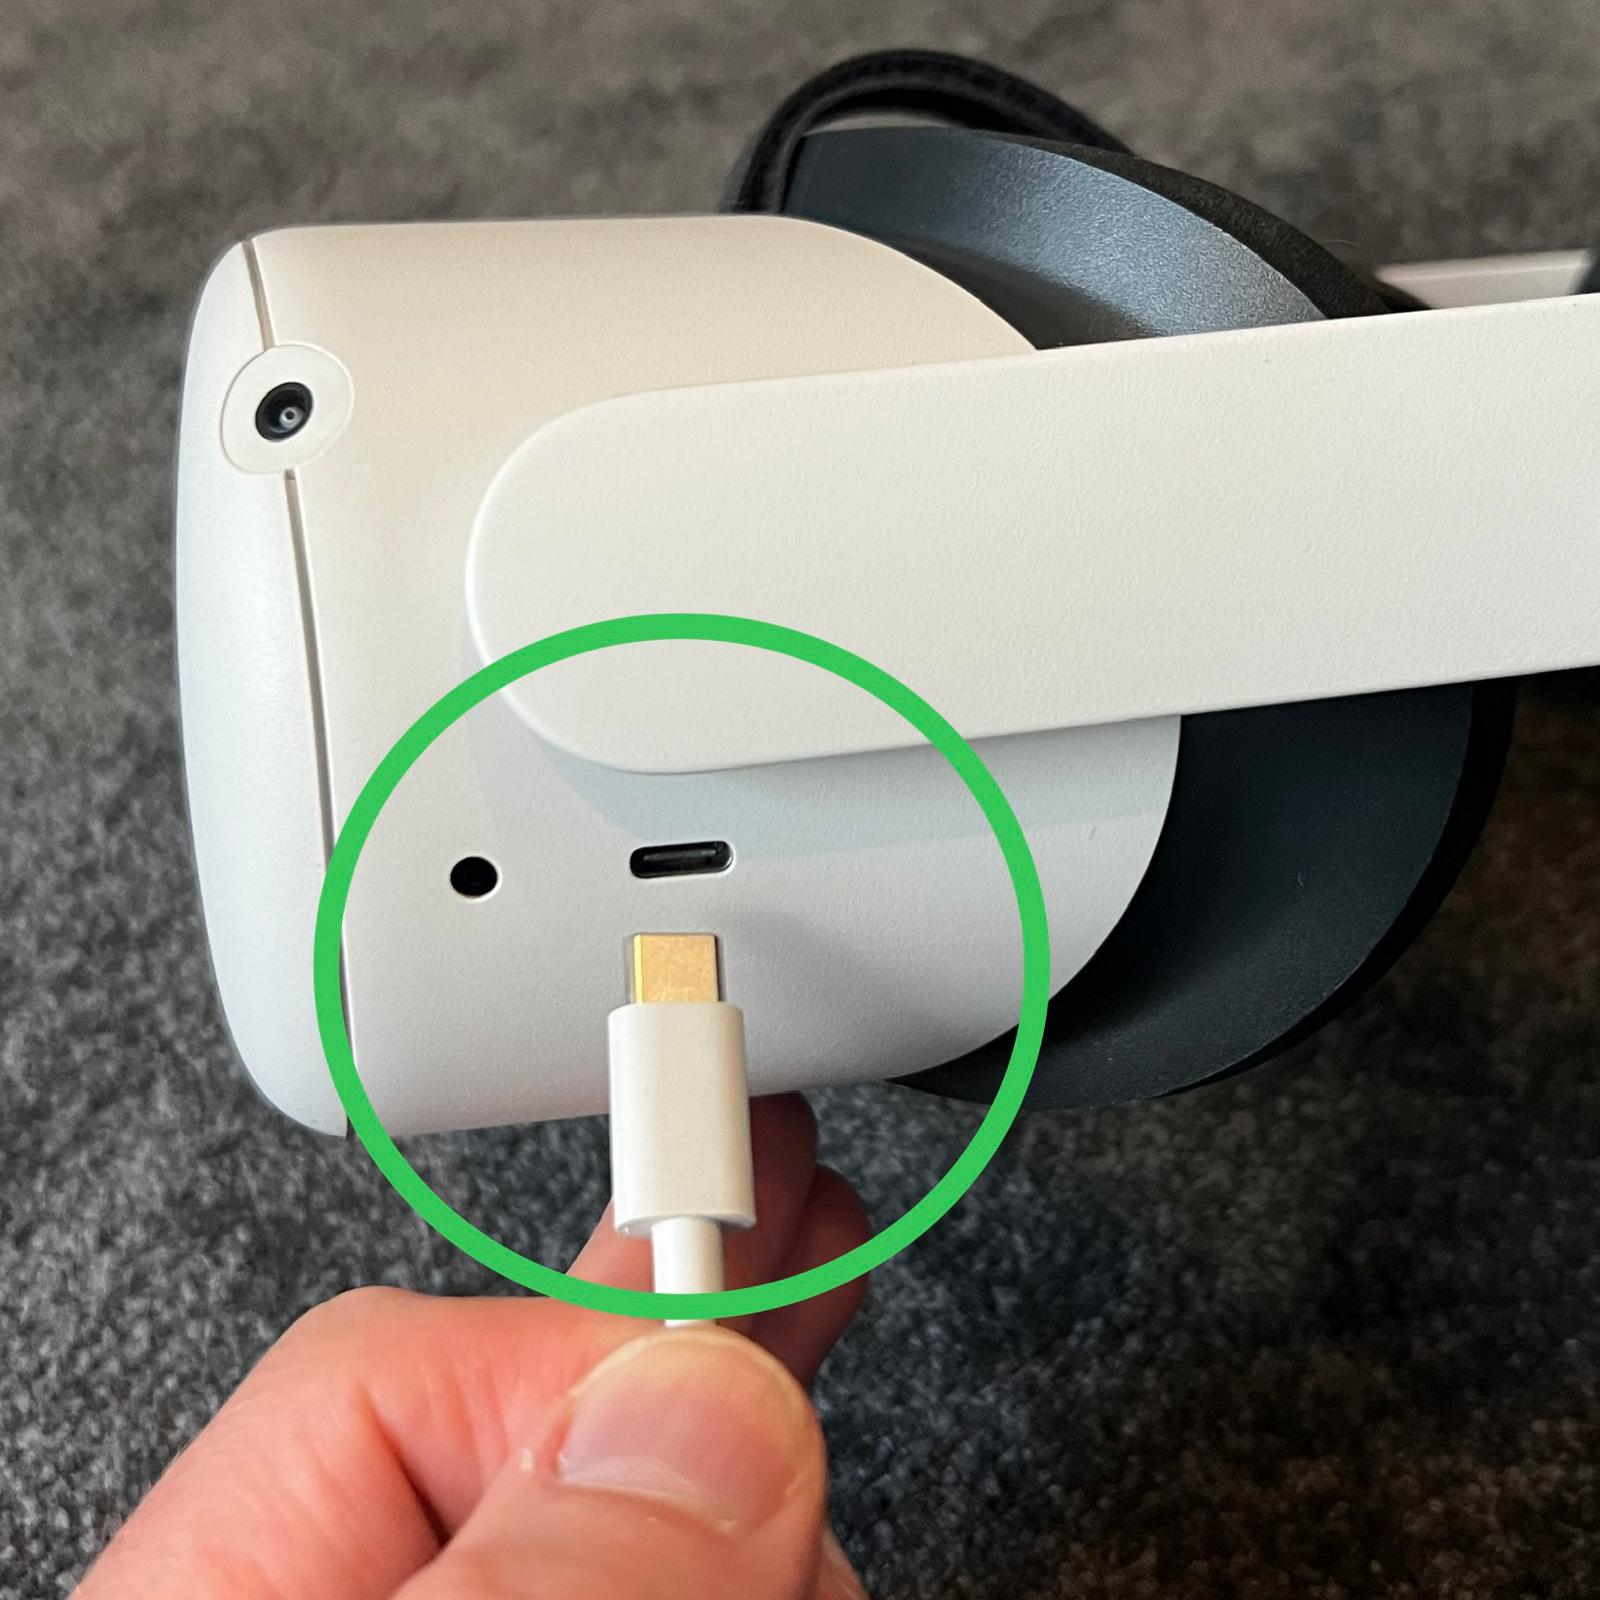
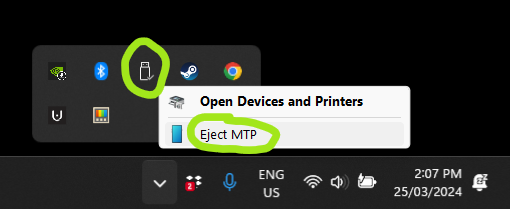
Grab the USB-C cable that came with the quest 2 headset and plug one end into the headset and the other into a free USB port.
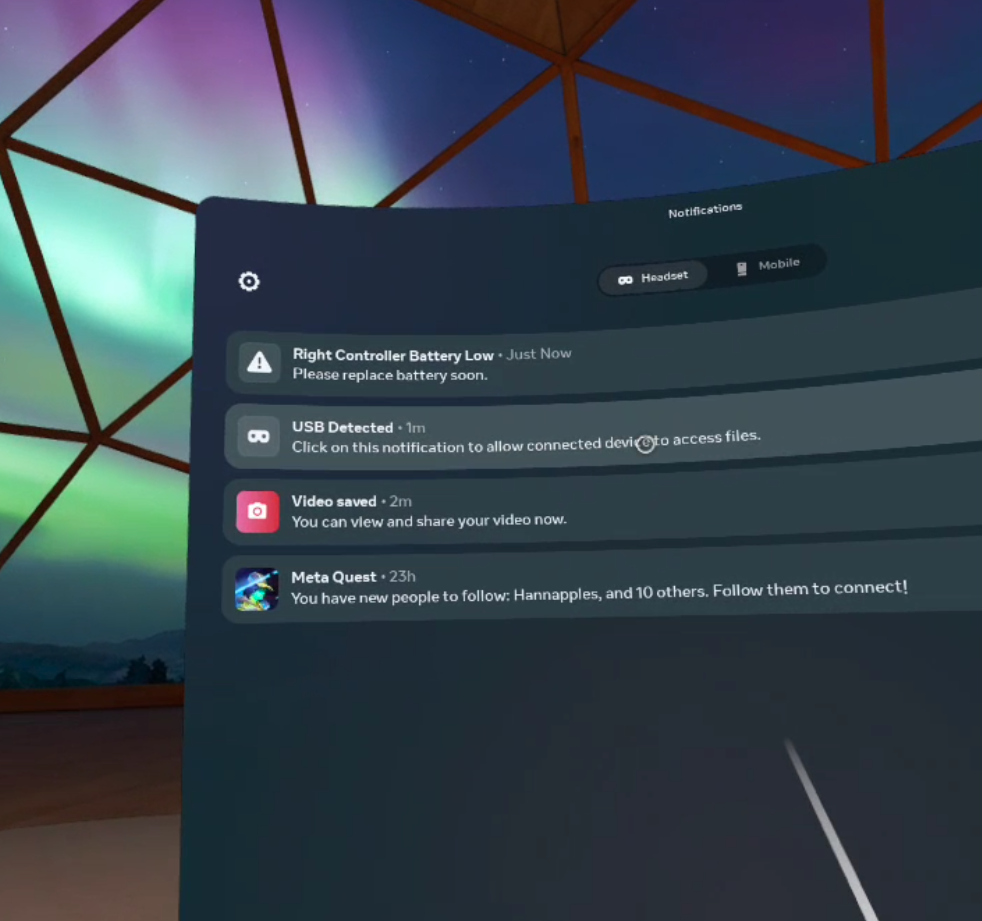
Put the headset on and you should see a notification called “USB Detected” asking to “allow files?”. Select the notification and this will allow file transfers. Take off the headset.

On the laptop open File Explorer (ctrl+e) and navigate to your folder where your VR video file is saved.
Copy your VR video file/s (ctrl+c).
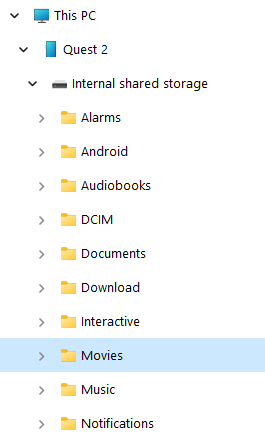
Now you can navigate to the Quest 2 folder in File Explorer.
Select This PC > Quest 2 > Internal shared storage > Movies.
Now paste the file/s into this folder (ctrl+v)
In the headset, navigate to “Meta TV”

Select “Your Media”
You should now see the file/s you added. Just select the one you want to play.

If the video opens up on a 2d screen in front of you then we need to change the player settings.
Select the Gear icon
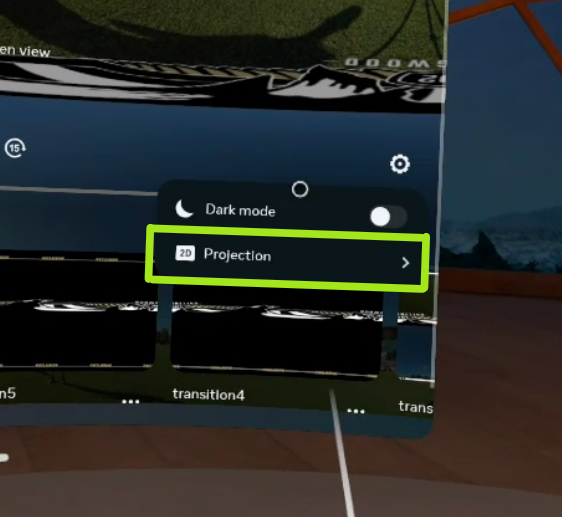
Select "Projection"
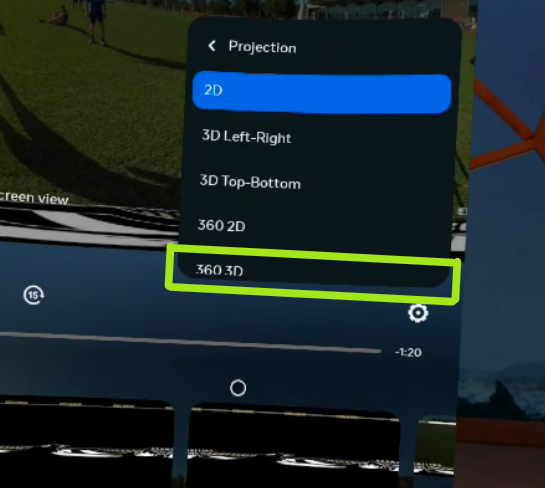
Set projection mode to 3D 360.
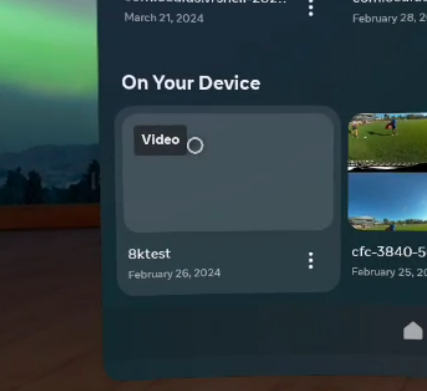
If your file does not show a thumbnail this means the video is not supported by the device, usually because the resolution and or bitrate is too high.
Make sure you follow the rendering instructions provided in the ‘Exporting / Rendering your VR video’ section.